How to do a handstand: balance comes from your fingers
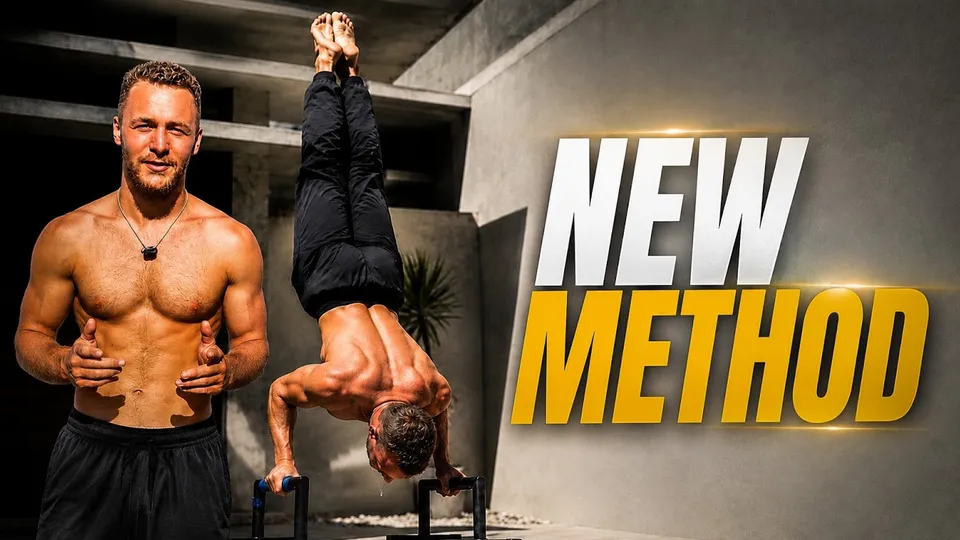
To do a handstand, learn to balance with your fingers, not your core. Start with the frog stand, then the advanced frog stand, then a wall drill with your back to the wall where your fingers push your legs away. Finish with a straight-leg kick-up. I learned it in one day; most of my clients get it in about four weeks.
Everyone tells you to train the handstand. Nobody actually shows you how. Most people I talk to have been training it for months, some for years.
I learned my handstand in one day. Most of my clients get theirs in about four weeks. That is not talent. It is because they stop training the wrong thing. This is the exact order I teach it in.
How long does it take to learn a handstand?
For most people, weeks, not years. I got mine in one day, and most of my clients hold their first freestanding handstand in about four weeks.
The reason so many people take years is that they treat the handstand as a strength exercise. The handstand is a skill. Like golf, surfing or skateboarding, the more you do it, the better your body understands the movement. Strength helps, but understanding the balance is what gets you up.
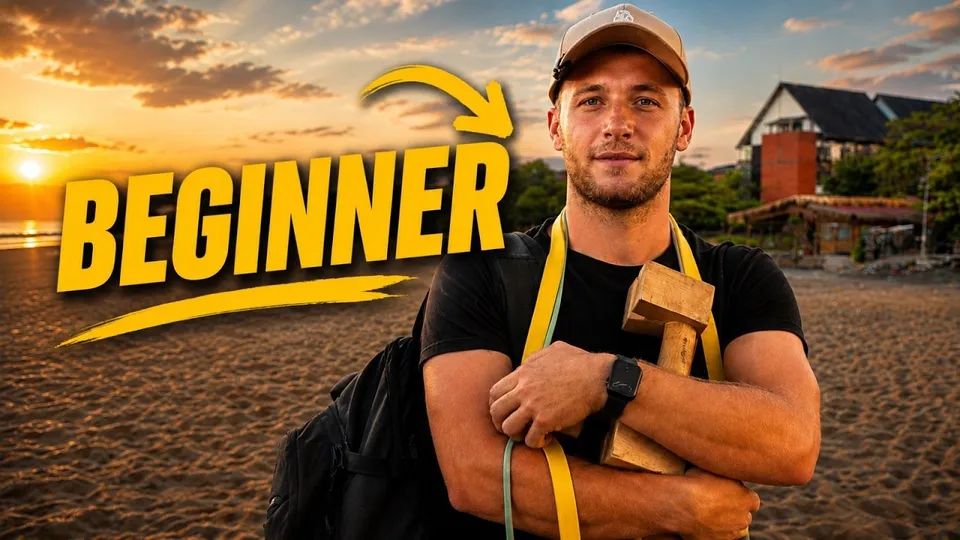
To prove it, I went to the beach and taught strangers their first handstand on parallettes. Three fixes did most of the work: push and pull on the parallettes to correct, keep your eyes on one spot, and lock your arms straight. Most of them were up within minutes. You can watch it happen in my beach handstand video.
Where does handstand balance actually come from?
From your fingers. Not your core, not your shoulders, not your legs.
That goes against what most coaches say. "Activate your core. Open your shoulders." It is true for perfect form, but it is not what keeps you up. I can bend my legs, arch my back, move my body around, and still hold the handstand. Some coaches go further and bring up the vestibular system, the small organ in your inner ear that tells your brain which way is up. On your feet, that is the main player. Upside down, it has no idea what is going on.
Here is what balance really is: constant small corrections. There is no perfect balance point. You have a heartbeat, blood moving through your veins, things happening around you. Nobody stands perfectly still, on their feet or on their hands.
Stand up and try this right now:
- Lean forward. Your toes press into the ground and stop you from falling.
- Lean back. You lift your toes or bend your knees to get weight back in front.
- Stand on one leg. Feel your foot making tiny corrections the whole time.
A handstand is exactly the same. If you fall forward, press your fingers into the ground and push yourself back. Your fingers are your toes now. Falling the other way, towards your palms, is harder to save, just like falling on your heels. So early on, stay a little on the finger side and let your fingers do the work.
After more than 10,000 hours upside down, this is the one thing I would tell my younger self. I show the finger corrections from the frog stand up to the full handstand in my handstand balance video.
Does it matter where you look in a handstand?
Yes, a lot. Your eyes are part of your balance.
Try it: stand on one leg with your head tilted up, looking at the sky. That is already harder. Now close your eyes and try to hold it for 10 seconds. Most people cannot.
In a handstand, pick one spot on the floor between or just in front of your hands and keep your eyes there. When I teach people on the beach, fixing where they look is often the first thing that makes their handstand hold.
What are the steps to learn a handstand?
Five steps, in this order. Only move on when the current one is consistent. New to calisthenics altogether? Start with calisthenics for beginners and come back.
| Step | Exercise | Move on when |
|---|---|---|
| 1 | Frog stand | You hold it 10 seconds, consistently |
| 2 | Advanced frog stand | You hold it 10 seconds, consistently |
| 3 | Leg-up holds | Being upside down feels calm and you can breathe |
| 4 | Wall drill, back to the wall | Your fingers can push your legs off the wall |
| 5 | Straight-leg kick-up | You can stop the kick with your fingers and hold |
1. Frog stand
This is your first handstand, even though it does not look like one.
- Squat down and place your hands flat on the floor, fingers pointing straight forward.
- Put your knees on the outside of your elbows, in the small groove on the back of your upper arm.
- Lean forward until your feet come off the floor, and put a little pressure on your fingers.
That is it, you are standing. Now watch your fingers: you will see them making the same corrections you make on your feet. For your hands, the frog stand is almost the same position as the handstand. Hold it for at least 10 seconds, consistently.
2. Advanced frog stand
Same setup, but with your hips higher. Higher hips mean a harder balance, so you need more corrections, faster. Hold it for at least 10 seconds, consistently, and you are ready to go upside down.
3. Leg-up holds
Kicking up can be really scary. This is how you get upside down without a kick.
- Get one leg up as high as you can.
- Bring the other leg up to it and hold. Let your shoulders work and push the floor away.
- When that feels comfortable, straighten your legs. If you can hold it from there, great. If not, walk back down and work on your line.
This builds the basic strength, and it teaches you something nobody mentions: how to breathe upside down.
4. The wall drill (my favourite)
If you only do one exercise from this post, do this one.
- Stand with your back to the wall, not your belly. Kick up into a handstand with your heels against the wall. It does not matter if you fly into the wall at first. Just get up.
- Once you feel comfortable, take one leg off the wall into the right position, maybe even a little further out.
- Now push with your fingers so that your leg moves away from the wall. Do not move the leg with the leg. Push the floor with your fingers and let the leg follow.
- Keep pushing until both legs come off the wall. That is your handstand.
Why back to the wall? Because in this position you are always falling towards the wall, which is the direction your fingers can save. The drill trains exactly that: fall forward, push yourself back. That cycle is the whole handstand.
5. The straight-leg kick-up
Now take the wall away.
- Always kick up with straight legs. Straight legs are the same every time, so your kick becomes repeatable. I see people bend one leg, then the other. Keep both straight.
- A slow, controlled kick-up is not strength. It is understanding the motion. Practice it and it will come.
- Stop the momentum with your fingers. As your legs arrive over your head, press your fingers into the floor. That press stops you from going over, and from there the balancing starts.
Kick up, press, hold. Eventually your fingers will do less and less work, and you will just stand there.
How do you fall out of a handstand safely?
Turn out of it. If you go over, walk one hand forward and turn your body to the side, so you come down on your feet like a sideways cartwheel instead of landing on your back.
Practise this on purpose before you try kicking up away from the wall. Once you know you can get out, the kick-up stops being scary, and a calm kick-up is a controlled one.
Should your arms be bent or straight?
Straight. A straight arm is much stronger than a bent one.
When I teach people a handstand for the first time, bent arms are one of the first things I fix. Try it with a friend: lock your arm straight and let them try to bend it. They cannot. Now bend it a little and let them push. It folds. In a handstand, a bent arm is a weak arm. Kick up with your arms locked.
What is the right body line in a handstand?
For your first handstand, there is no "right" line. For a good-looking one, pick one of two:
- Open ribcage. Chest open, shoulders pushed as far open as you can, belly pulled in. This is the one I teach, because I think it looks way better.
- Closed ribcage. Ribs pulled in, a hollow shape. Some people prefer it.
You can learn both, but choose one to get good at. And do not wait for perfect form before you start balancing. Understand the balance first, then clean up the line.
What are the most common handstand mistakes?
- Treating it as a strength exercise. It is a skill. Frequent practice beats grinding.
- Trying to balance with your core or legs. Balance comes from your fingers. Your core helps the line, not the balance.
- Waiting for a perfect position. No one stands perfectly still. The handstand is a constant stream of small corrections.
- Looking around. Pick one spot on the floor and keep your eyes there.
- Kicking up with bent legs. Straight legs give you the same kick every time.
- Bending your arms. Lock them out. A bent arm is a weak arm.
- Only training belly to the wall. Back to the wall, pushing your legs off with your fingers, teaches the balance itself.
Handstand FAQ
Can you learn a handstand in one day?
Some people can. I did, and I have taught strangers on the beach to hold one in a single session. For most people it takes a few weeks of regular practice. My clients usually get their first freestanding handstand in about four weeks.
Do I need a strong core to hold a handstand?
No. A strong core helps with a clean line, but it is not what holds you up. Balance comes from your fingers making small corrections, the same way your toes keep you standing. You can hold a handstand with a messy line; you cannot hold one without those corrections.
Should I face the wall or put my back to it?
Back to the wall for learning the balance. In that position you are always falling towards the wall, so your fingers learn to push you away from it. That is exactly the correction you need once the wall is gone.
Why do I keep falling over when I kick up?
Usually because you kick too hard and nothing stops the momentum. Kick with straight legs so the kick is the same every time, then press your fingers into the floor as your legs arrive over your head. That press is your brake.
Can I learn a handstand at home?
Yes. You need a clear bit of floor and a wall. Everything in this post, from the frog stand to the wall drill, can be done in a living room. Just clear the space around you before you start kicking up.
Start with the frog stand
Squat, hands flat, knees on your elbows, lean until your feet float, and watch your fingers work. That is your handstand, already.
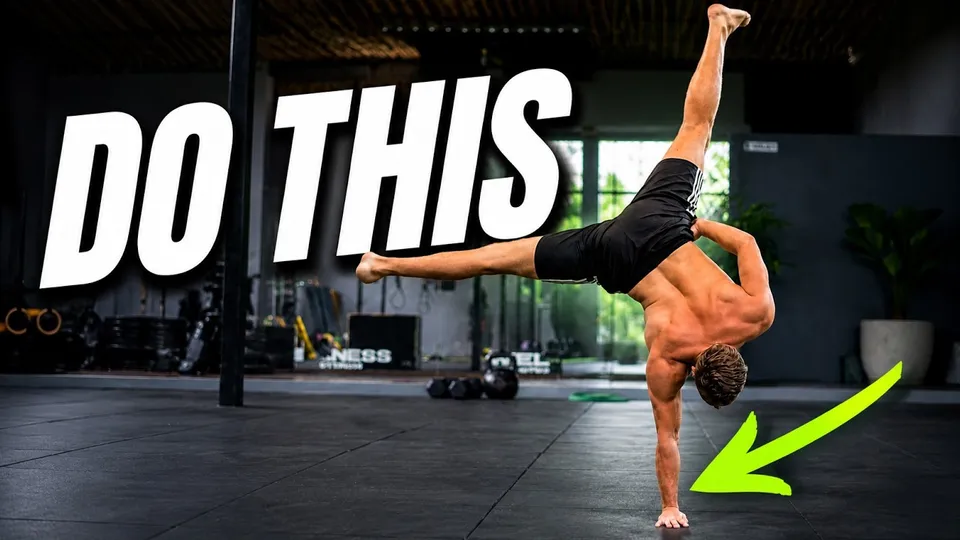
When you can hold it, go to the wall, back first, and let your fingers push your legs away. If you want a plan that moves you up the steps when you are ready, CaliRealm builds it for you. Once you are upside down, the next skill is waiting: how to do a handstand push-up. And once you can hold a minute on two hands, try the one arm handstand.